Backsplash tile installation on Cape Cod

Backsplash tile installation is the process of setting tile on the wall surface behind counters and cooking areas: wall prep, backer board where needed, tile layout, thin-set setting, grouting, and caulking at all transitions to leave a durable, water-resistant finished surface.

It is the right call when an existing backsplash is cracked, dated, or simply missing, and when you want a surface that holds up to water, grease, and daily cleaning without repainting. The material and the setting method decide how long it lasts: a wall that is not flat, joints that are grouted where they should be caulked, or tile set without full mortar coverage will show problems within a few years.

Daniel Araujo holds a Massachusetts Construction Supervisor License (CSL), Unrestricted (#CS-123114), and Forty One Construction is a BBB Accredited Business. We carry 51 Google reviews at 5 stars.

This page covers what a backsplash tile installation includes, what it costs in 2026, how the main tile materials compare, and what quality standards the installation actually has to meet to hold up over time.

Tiler pressing mosaic subway tiles onto kitchen wall above countertop near Cape Cod window. Illustrative image.

Massachusetts License

CS-123114

MA CSL · Unrestricted

Home Improvement

217279

MA HIC Registration

Accreditation

BBB

Accredited Business

Google Reviews

5 Stars

51 Google Reviews

Project Planning

Free

On-Site Estimates

Before You Start · Cape Cod

How do I know if my kitchen backsplash needs to be replaced rather than repaired?

If the tile is cracking off the wall, the grout is failing across most of the surface, or the substrate behind it is damaged, replacement makes more sense than patching. Cosmetic grout haze or a single broken tile is a repair. Widespread adhesion failure is not.

  • Tile is lifting or hollow. Tap the tile and listen for a hollow sound, which means the thin-set bond has failed and the tile is no longer fully adhered to the wall.
  • Grout is crumbling or missing. Open grout joints let water reach the wall behind the tile. In a kitchen that sees daily splashing, that leads to substrate damage over time.
  • Cracks running across multiple tiles. A crack that crosses a grout joint and into the tile usually means the substrate has moved, not just that one tile took a hit.
  • Soft or stained wall behind the tile. If pressing on a tile produces flex, the drywall or backer board beneath it has taken on moisture and needs to come out before any new tile goes up.
  • No backsplash at all. A painted or bare drywall surface behind a sink or range is not water-resistant and will deteriorate with normal kitchen use.
  • Grout that cannot be cleaned. Heavy staining, mold in porous grout, or discoloration that scrubbing does not fix is a sign the grout was never sealed or has reached the end of its serviceable life.

The one detail most homeowners miss: the joint where tile meets countertop and cabinets should be caulked, not grouted. Grout at that transition cracks as the surfaces move independently. An open or cracked joint at the counter edge is where water gets in, not through the tile face.

Backsplash Tile · Cape Cod

What a backsplash tile installation includes from first measurement to final cleanup

A backsplash tile installation with Forty One Construction runs through seven steps, from the first on-site measurement to the final walkthrough in Hyannis. Each step has a clear purpose, and you know what is happening before we move on. Here is what each one covers.

Installer marking horizontal reference lines on bare kitchen wall with level and pencil. Illustrative image.

Planning · Phase One

Planning the layout before any tile is set

01

Measurement and layout planning

We measure the wall area, note outlet locations, window sills, cabinet returns, and any obstacles that will require cuts. We plan the tile layout so the pattern is centered and small slivers at the edges are minimized. You get a written scope before any material is ordered.

02

Material selection

We help you choose tile size, material, and format, ceramic, porcelain, glass, or natural stone, along with grout color and edge trim. We name the tile lines we work with regularly and source from suppliers in the region. Selection is confirmed in writing before work starts.

Worker applying white tile adhesive to cleaned drywall with notched trowel before hanging tile. Illustrative image.

Preparation · Phase Two

Prepping the wall surface before tile goes up

03

Surface prep and protection

We protect countertops and cabinet faces before anything else. We remove the existing backsplash if present, then assess the wall. Drywall that is in good condition gets minor patching and skim where needed. Any wet zone or damaged section gets cement backer board installed per TCNA guidelines.

04

Dry-fit and layout

We dry-fit the tile on the wall before applying any mortar, marking the layout lines and confirming the pattern works with the real dimensions of the space. This is where we catch any field cuts around outlets or corners and plan the sequence so the finished result is centered and level.

05

Tile setting

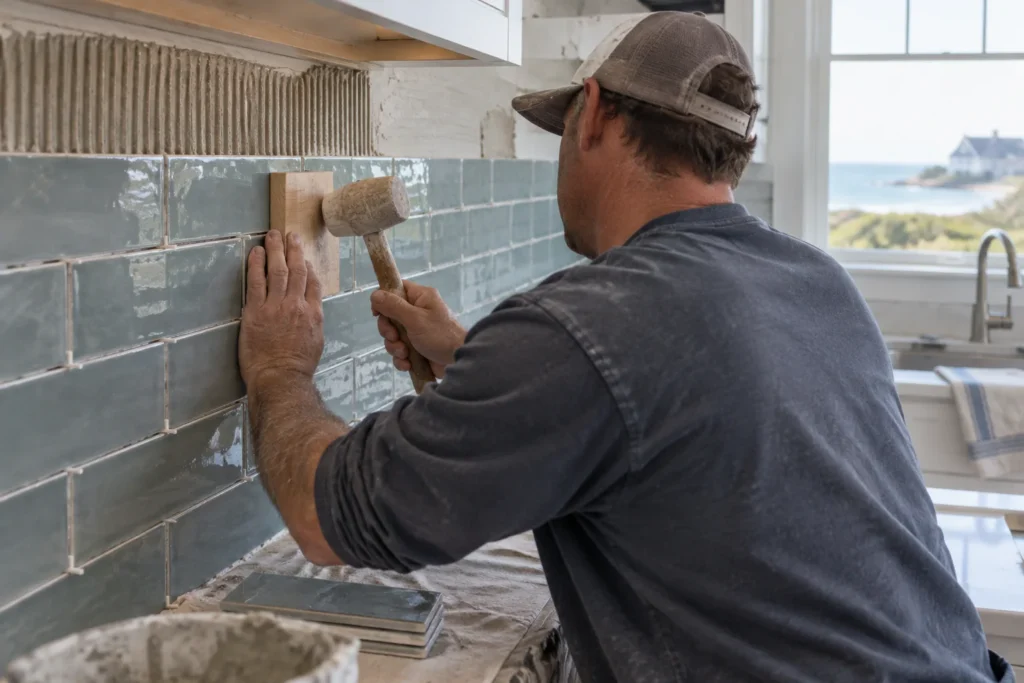
Thin-set is applied with the correctly sized notched trowel for the tile format. Tile goes up in sequence, with spacers holding consistent joints. Each outlet and edge gets its own cut. We aim for 95 percent or better mortar coverage in wet areas and 80 percent or better elsewhere, per TCNA standards.
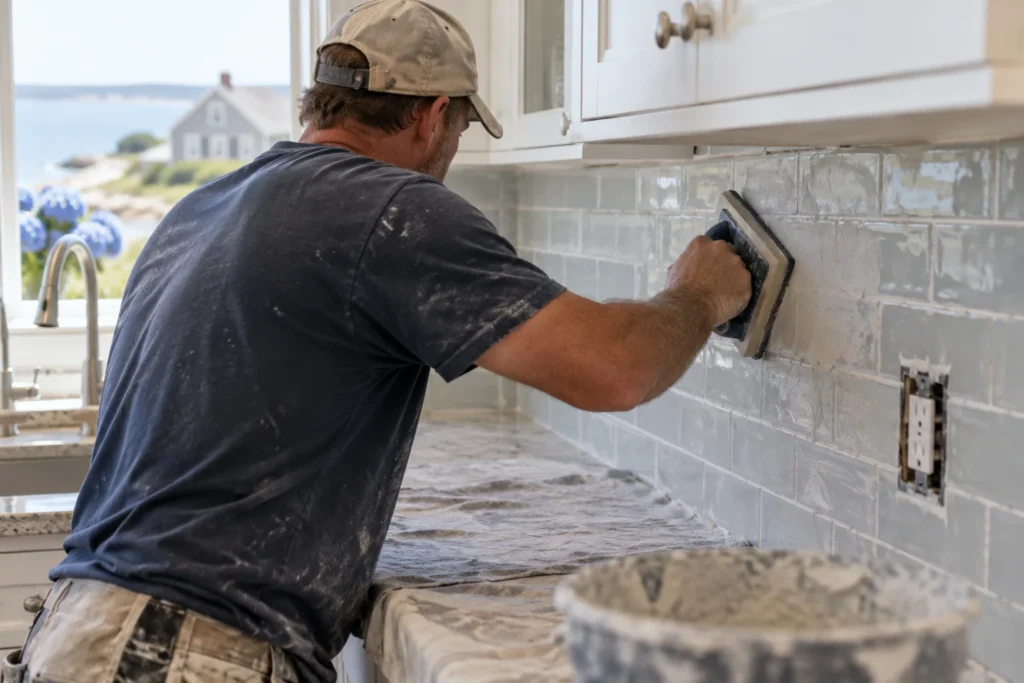
Finisher pressing grout into joints along completed kitchen backsplash with rubber float. Illustrative image.

Finish · Phase Three

Grouting, caulking, and completing the installation

06

Grouting and caulking

After mortar cures 24 to 48 hours, we apply grout with a grout float, working it into the joints and cleaning the tile face. The perimeter joints where tile meets countertop and cabinets are caulked, not grouted, so the expansion joint can move without cracking. Natural stone and porous tile get sealed after grout cures.

07

Final cleanup and walkthrough

We remove protective covering from counters and cabinets, clean grout haze from the tile face, and walk the finished backsplash with you. You inspect the work, ask questions, and we do not call it done until you are satisfied with the result.
Scope · What You Are Buying

What your backsplash quote covers, and what it does not

A backsplash tile installation quote from Forty One Construction covers wall prep and minor patching, backer board where required, tile layout and cutting, thin-set installation, grouting, caulking at transitions, and job-site cleanup. Tile and material purchase, electrical outlet relocation, extensive drywall or framing repair, plumbing modifications, and countertop or cabinet replacement are quoted separately rather than assumed into the number.

Included in the quote

  • Wall prep and minor patching
  • Backer board installation where required
  • Tile layout, dry-fit, and cutting
  • Thin-set application and tile setting
  • Grouting and joint finishing
  • Caulking at counter and cabinet transitions
  • Job-site cleanup and surface protection

Not included, quoted separately

  • Tile and material purchase (unless bundled)
  • Electrical outlet relocation or box extensions beyond basic fitting
  • Extensive drywall or framing repair
  • Plumbing modifications
  • Countertop or cabinet replacement

Done correctly means the wall is flat to within 1/8 inch over 10 feet before any tile goes up, cement backer board is installed in wet zones per TCNA guidelines, thin-set is applied with the correctly sized notched trowel for full mortar coverage, joints are spaced consistently with spacers, mortar cures 24 to 48 hours before grouting, grout cures per manufacturer spec before sealing, and perimeter joints at the counter and cabinet line are caulked rather than grouted. Those are not preferences. They are what separates an installation that holds from one that does not.

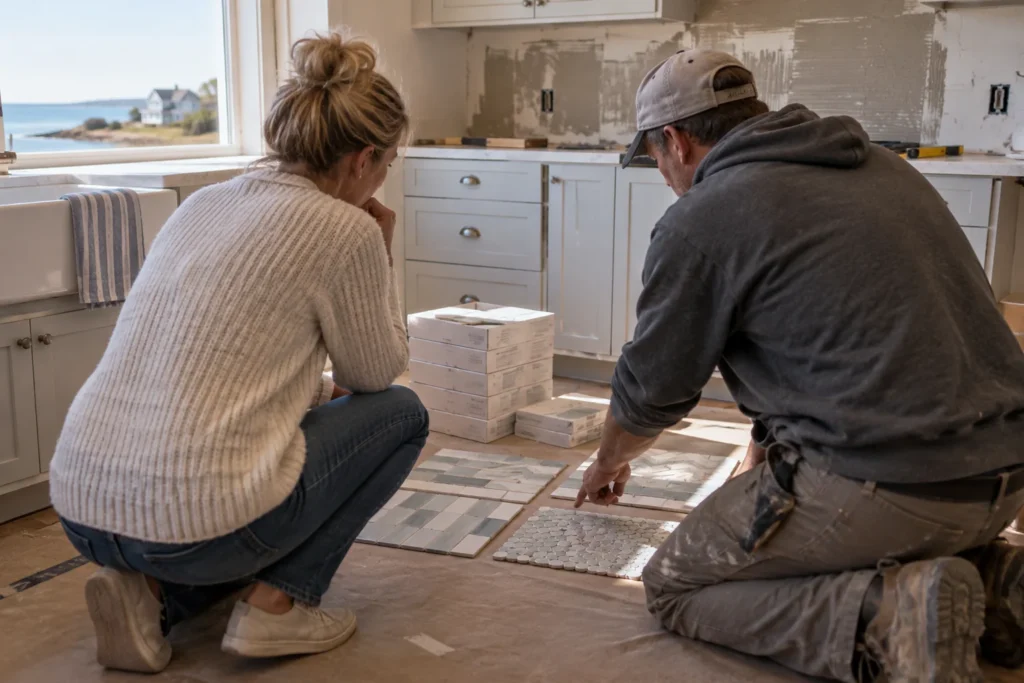
Homeowner and tiler reviewing tile layout options beside stacked boxes on kitchen floor. Illustrative image.

Backsplash Cost · Cape Cod

How much does backsplash tile installation cost on Cape Cod?

Backsplash tile installation on Cape Cod typically runs $14 to $45 per square foot installed in 2026, with Forty One Construction quoting each project in Hyannis after an on-site measurement. Full-height, complex-pattern, and natural stone installations land at the higher end.

Your final number depends on square footage, tile material, pattern, and wall condition before we start.

$30–$75 Per square foot installed
$10K–$20K Installed price range, 2026 Cape Cod market

Cost Factors

What moves the price

The price moves with a handful of real drivers, including tile material, square footage, pattern complexity, wall condition, and the number of cuts required around outlets and obstacles.

01

Tile material and format

Ceramic costs least; glass, large-format porcelain, and natural stone cost more per square foot.

02

Square footage and wall height

A standard counter-to-cabinet run costs less than a full-height counter-to-ceiling installation of the same width.

03

Pattern complexity

Straight-set is fastest. Herringbone, diagonal, and mosaic patterns add layout and cutting time and raise labor cost.

04

Outlets, windows, and obstacles

Each outlet, switch, or window sill requires precise field cuts. More obstacles mean more cutting time and more potential for waste.

05

Wall condition and prep

A wall that needs patching or backer board before tile can go up adds prep time and material cost.

2026 Cost Guide

Typical backsplash cost by scope

These ranges are a starting point for planning. Every project is quoted after an on-site measurement.

Job size and scope Typical range on Cape Cod (2026)
Small standard backsplash (20-30 sq ft) Lower end of $14-$45/sq ft installed
Larger or full-height backsplash (40-60 sq ft) Mid to upper range depending on tile and pattern
Complex pattern, mosaic, or natural stone Upper end; material and cutting time push cost higher

Old backsplash removal, backer board needs, and grout or trim upgrades all factor into the final number. Every project is quoted after an on-site assessment.

Get a Free Estimate →

Tile Materials · Cape Cod

Ceramic, porcelain, glass, or natural stone: which tile holds up best in a coastal kitchen?

The right tile depends on your budget and how much maintenance you want to do, but the setting method and substrate matter as much as the tile itself. Below are the main tile types we install, compared honestly. Whatever the tile, we follow TCNA standards for substrate prep and mortar coverage so the installation holds.

A single square ceramic tile lying flat with its unglazed porous edge facing the camera. Illustrative image.

Ceramic · Entry Tier

Ceramic tile

The most common and budget-friendly option. It is available in a wide range of colors and sizes, easy to cut, and straightforward to set. Best for homeowners who want a clean, durable backsplash at a lower material cost. Grout should be sealed to prevent staining in a kitchen environment.

A large-format rectified porcelain tile standing upright showing its sharp precise machine-cut edge. Illustrative image.

Porcelain · Mid Tier

Porcelain tile

Denser and less porous than ceramic, porcelain handles moisture and daily cleaning well. Large-format rectified-edge porcelain is common in modern kitchens for its clean grout lines. Best for homeowners who want a harder, lower-maintenance surface. Large formats require a flatter wall and full mortar coverage.

A small sheet of glass mosaic tiles with translucent colored squares mounted on mesh backing. Illustrative image.

Glass · Mid-High Tier

Glass and glass mosaic tile

Glass tile and glass mosaic sheets are popular for range hoods and accent areas. They reflect light and come in a wide range of colors. Best for homeowners who want a focal backsplash or decorative inset. Glass requires white thin-set so the adhesive does not show through, and cuts need a tile saw with a glass blade.

Three natural stone tiles in marble travertine and slate showing veined pitted and cleft surfaces. Illustrative image.

Natural Stone · Premium

Marble, travertine, and slate

Natural stone brings variation and a high-end look that tile cannot replicate. Marble and travertine are porous and need sealing after installation and periodically afterward. Best for homeowners who want a premium surface and accept the maintenance that comes with it. Stone must be set on a solid, flat substrate with full mortar coverage.

A single metal-look tile with embossed tin-ceiling relief pattern and reflective metallic surface finish. Illustrative image.

Specialty · Accent Use

Metal and tin-look tile

Metal and tin-look tile work well as accent or focal backsplashes rather than full-wall installations. They add texture and contrast without the weight or cost of natural stone. Best for homeowners who want a specific industrial or vintage look in one zone of the kitchen.

Material Comparison

Compare tile options

Compare where each tile type fits best, how it handles kitchen moisture and cleaning, and the level of maintenance it requires after installation.

Option Best for Handles moisture and cleaning Maintenance
Ceramic tile Tight budgets Good (seal grout) Low
Porcelain tile Low maintenance Very good, dense and non-porous Very low
Glass tile Accent and focal areas Very good Low (wipe clean)
Natural stone Premium surface Fair (requires sealing) Medium
Metal tile Accent, focal backsplash Good Low

We name real products when we spec a job, tile from lines like Daltile, MSI, American Olean, Marazzi, and Arizona Tile, and setting materials from Custom Building Products, Laticrete, Mapei, and similar manufacturers. If a simpler tile is the right call for how you use the kitchen and your budget, we will tell you.

Installer cutting small ceramic tile on wet saw to fit around outlet box. Illustrative image.

Project Timeline · Cape Cod

How long does backsplash tile installation take on Cape Cod?

A backsplash tile installation with Forty One Construction takes one to two days for a small standard kitchen backsplash of 20 to 30 square feet, two to three days for a larger or full-height backsplash of 40 to 60 square feet, and three to five days for complex patterns, mosaic, natural stone, or projects that require wall repair or backer board, plus grout cure time before the kitchen is back in full use.

Two things regularly affect scheduling here. Summer is the hardest time to book on the Cape, with seasonal homeowners and a compressed construction window from Memorial Day to Labor Day meaning crews are in high demand. Wall condition discovered during prep can also add a day if backer board or patching is more involved than the initial assessment indicated. We build an honest schedule rather than promising a date we cannot hold.
3–5 days Small backsplash, 20-30 sq ft
1–2 weeks Larger or full-height, 40-60 sq ft
3–5 weeks Complex pattern, mosaic, or stone
Tiler embedding each tile firmly into adhesive using wooden mallet and beating block. Illustrative image.

Installation Standards · Cape Cod

What a properly installed backsplash tile job actually requires

The substrate and setting method decide whether a backsplash holds. Tile that is set on a wall that is not flat, with thin-set coverage that is too thin, or with grouted joints at the counter edge will show problems. On Cape Cod, humid summers mean installed tile and grout need time to cure properly before the kitchen returns to normal use.

Substrate

Wall prep and backer board

The wall has to be flat to within 1/8 inch over 10 feet before tile goes up. High spots and voids in the substrate transfer directly to the finished tile face. In wet zones, cement backer board is installed per TCNA guidelines rather than setting tile over standard drywall. Skipping backer board in a wet area is a shortcut that shows up as adhesion failure and moisture damage behind the tile within a few years. We assess the wall at the start and do not set tile on a surface that is not ready.

Setting Method

Thin-set coverage and joint caulking

Thin-set is applied with a notched trowel sized to the tile format, so the mortar ridges collapse and cover the tile back fully when pressed. We aim for 95 percent or better coverage in wet areas and 80 percent or better in dry areas, per TCNA standards. Joints are spaced consistently with spacers and grouted after mortar cures 24 to 48 hours. The perimeter joint where tile meets countertop and cabinets is always caulked, not grouted, because those surfaces move independently and a grouted joint at that transition will crack. Outlets and switches get proper box extenders where the tile thickness requires it.

Installation Quality · Coastal Kitchens

What makes a backsplash tile installation hold up over time?

The substrate and setting method decide it, not the tile brand. A backsplash set over a properly prepped wall with full mortar coverage, correctly cured grout, and caulked perimeter joints will outlast one that skipped any of those steps. We do not publish a single lifespan figure because the honest answer depends on the tile type, the substrate, and how the kitchen is used.

  • Grout and porous tile need sealing. Unsealed grout in a kitchen absorbs grease and moisture. Natural stone and porous tile sealed after installation resist staining and are easier to maintain long term.
  • Perimeter joints must be caulked. The joint at the counter and cabinet line moves as those surfaces expand and contract. A grouted joint at that transition cracks, opens, and lets water reach the wall behind the tile.
  • Mortar coverage matters behind every tile. Thin-set voids under the tile face become stress points. In kitchens that see daily use, low-coverage installs show cracking and hollow tile sooner than installs with full mortar contact.
  • Substrate condition before tile goes up is the biggest variable. A wall that is not flat, or that has moisture damage behind it, will cause adhesion failure regardless of tile quality. Prep is where the job is won or lost.

Forty One Construction backs labor and installation with a 5-year workmanship warranty. Manufacturer warranties on tile and setting materials are provided separately by the manufacturer and vary by product.

Local Tile Installer · Cape Cod

Where we install backsplash tile across Cape Cod and the South Shore

Forty One Construction installs backsplash tile across Cape Cod from our office in Hyannis, and local conditions shape how we approach every job. Humid summers mean tile and grout need proper cure time before kitchens return to full use. Coastal homes often have older wall construction that requires more prep work than a newer inland house. We assess each wall before quoting so the scope reflects what is actually there.

We serve homeowners from the outer Cape through the canal, Provincetown, Truro, Wellfleet, Eastham, Orleans, Chatham, Brewster, Harwich, Dennis, and Yarmouth on one side, and Hyannis, Centerville, Osterville, Cotuit, Mashpee, Falmouth, Bourne, Sagamore, Sandwich, and Barnstable through the mid- and upper Cape, along with Plymouth. See our work in Hyannis and Barnstable.
Hyannis Home Base
Cape Cod Local Coverage
Plymouth South Shore
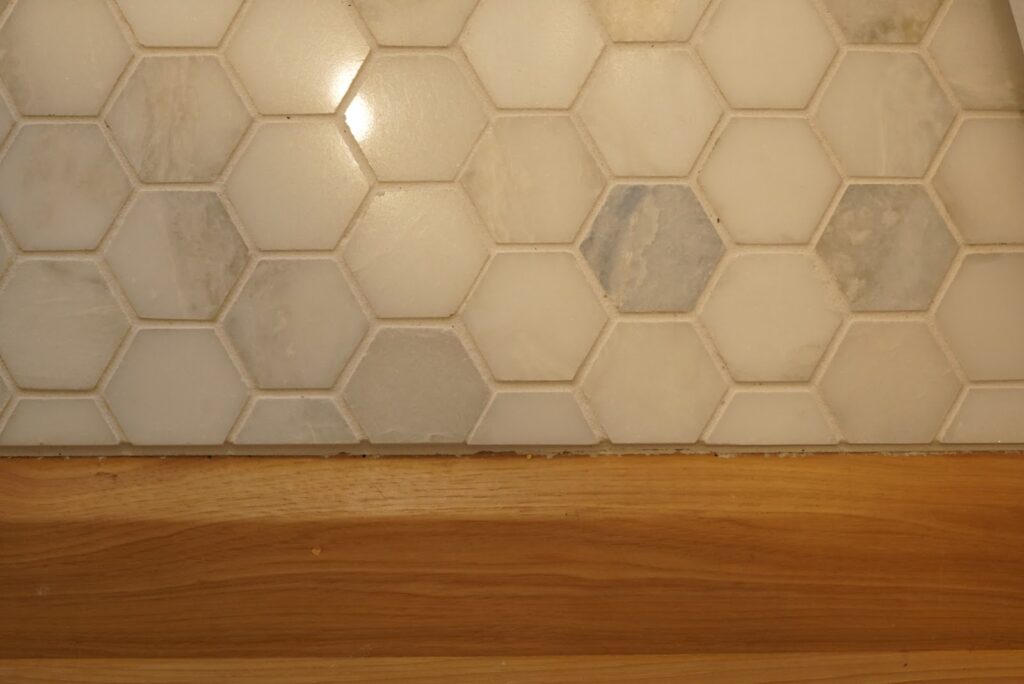
Hexagonal tile splash run above a wood ledge, a Forty One Construction project on Cape Cod

Credentials · Accountability

What to verify before your project starts

Credentials

License and coverage you can verify

Daniel Araujo holds a Massachusetts Construction Supervisor License (CSL), Unrestricted (#CS-123114), and the company holds Home Improvement Contractor registration #217279. We carry $1,000,000/$2,000,000 general liability coverage, and a certificate of insurance is available on request. The numbers are printed so you can check them. Learn more about us.

Permits · Code

We pull the permit and build to code

We submit drawings to the Town of Barnstable Building Division and pull the permit in our name. Footings reach frost depth, ledgers get through-bolted and flashed, and every connection is built to pass framing and final inspection, not just to look finished.

Before Construction

A written scope before we order a board

You get a written scope up front, so the number in your hand is tied to specific materials and work, not a vague figure that grows halfway through. When quotes look interchangeable on paper, that's usually where the real difference sits.

Tile contractor kneeling beside countertop reviewing hand-sketched measurements on notepad at jobsite. Illustrative image.

Client Testimonials

Real clients. Their own words.

Hear directly from our clients about their experience working with Forty One Construction. Select a video to watch their story.

Forty One Construction · Client Stories Click to play · Sound on

Homeowner Reviews

What homeowners in Hyannis say

Forty One Construction holds a 5-star rating across 51 Google reviews.

5.0 ★★★★★ Google Reviews
★★★★★ Google
“From the first walkthrough to the final cleanup, their professionalism stood out. They explained every step clearly, offered smart recommendations…”
Brian Timmins Google review excerpt Google
★★★★★ Google
“We are enjoying our deck and patio and we love the fresh look our house now has.…”
Stephanie York Google review excerpt Google
★★★★★ Google
“Outstanding communication, craftsmanship, customer care and pricing. I would recommend them for any home improvement project, large or small.…”
RedBalloon Google review excerpt Google

Custom Decks · Cape Cod

Questions about backsplash tile installation

Do you require a deposit, and how does payment work for a tile installation project?

Massachusetts consumer guidance advises homeowners not to pay more than one-third of the estimated cost upfront unless special-order materials are needed. We work within that standard and tie payments to a written scope. Talk specifics with us before you sign anything.

What tile brands and setting materials do you use?

We install tile from lines including Daltile, MSI, American Olean, Marazzi, and Arizona Tile, and use thin-set and grout from Custom Building Products, Laticrete, and Mapei. We match the setting material to the tile type and wet zone requirements, and we spec the tile to how the kitchen is actually used and your budget.

Will backsplash tile installation disrupt my kitchen while the work is being done?

Most of the disruption is limited to the work area. We protect countertops and cabinets before we start, and grout cure time means the backsplash area should not get wet or heavily used for a period after grouting. During summer, scheduling lead time is longer given the Cape's busy season, and we account for that when we set the project date.

What should I do to prepare before your crew arrives for the tile installation?

Clear items off the countertop along the wall being tiled and remove anything stored in the immediate work area. If you have purchased tile already, let us know the format and quantity so we can confirm it is sufficient for the layout. We handle wall prep, layout, cutting, and cleanup. If we need anything specific from you, we say so at the measurement visit.

What happens if there is a problem with the tile installation after the job is done?

Every installation carries a 5-year workmanship warranty on labor and installation. Manufacturer warranties on tile and setting materials are provided separately by the manufacturer. If something is not right with our work, call us and we come out to look at it. If the issue is our error, we fix it at no cost to you.

Another contractor quoted a lower price for the same backsplash area. Why should I choose Forty One Construction?

When two quotes look similar on paper, the lower one usually gets the job by default. The difference often sits in what you cannot see: whether the wall was properly prepped and flattened before tile was set, whether cement backer board was used in wet zones, and whether full mortar coverage was achieved behind each tile. We are a licensed local company that stands behind the work with a written warranty and a real scope.

Does backsplash tile installation in Hyannis require a building permit?

Standard backsplash tile installation is typically a finish trade that does not require a building permit. However, if the project involves electrical outlet relocation or other work that crosses into permitted trades, those elements are handled separately. We confirm what applies to your specific project during the initial visit so there are no surprises.

Is there a better or worse time of year to schedule a backsplash tile installation on Cape Cod?

Backsplash tile work is interior and can run year-round, unlike exterior projects constrained by freeze-thaw and cure conditions. That said, summer is the hardest season to book across Cape Cod as seasonal demand fills schedules from Memorial Day through Labor Day. Scheduling in the spring shoulder season or after Labor Day typically gives more flexibility on start dates.

Free On-Site Estimate

Get a Quote

Ready to talk through your project? Forty One Construction will come out, look at your yard, and give you a written scope tied to real materials and a real number. Every install carries a 5-year workmanship warranty on labor and installation, with manufacturer warranties on materials provided separately by the manufacturer.

Our crew builds across Hyannis and Cape Cod, and our office is at 76 W Main St Unit 306, Hyannis, MA 02601. Call us or request an estimate and we'll get you on the calendar honestly, weather and permits accounted for.

Free Estimate
Owner-Led Service
Serving Cape Cod

No-pressure consultation · Clear upfront pricing